----
Using CloudStack 4.3 with Microsoft Active Directory
// CloudStack Consultancy & CloudStack...
CloudStack 4.3 provided further enhancements to the LDAP integration, and in this article we will look at how you configure CloudStack to authenticate against a Microsoft Active Directory Server.
First step is to tell CloudStack about your Active Directory Servers (yes we can now have more than one)
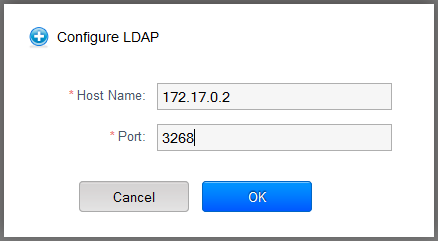
Go to Global Settings then choose 'LDAP Configuration' from the Select View Dropdown, then click the ' + Configure LDAP' button on the top right

Populate the form with the details of your LDAP Server(s) – I will be adding just the one today
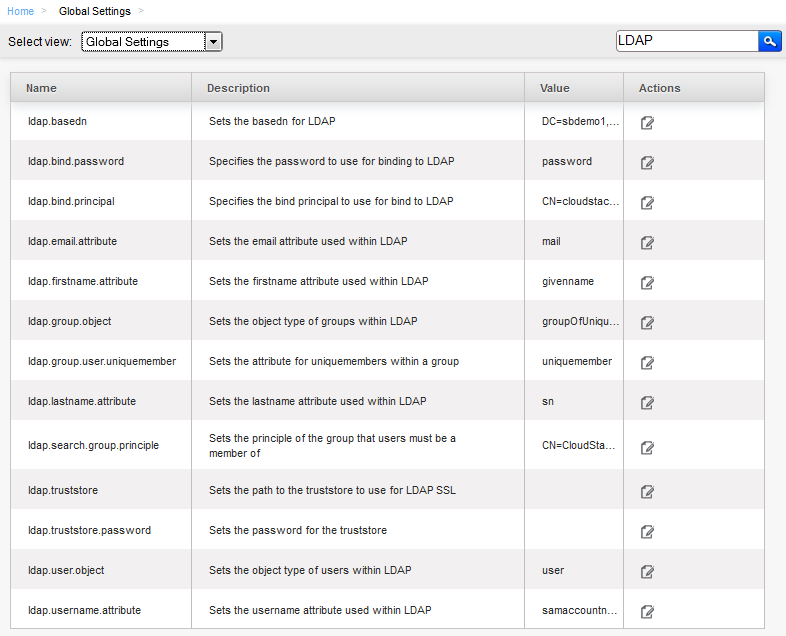
Now go back to Global Settings and filter for 'LDAP' using the search box in the top right. These are the settings we need to configure in order to use LDAP.

These are the settings I used in our Lab
ldap.basedn DC=sbdemo1,DC=local
The following two settings specify a normal AD User Account which is used to query the list of users within AD, it does not require Domain Admin rights. Note how you need to use its 'distinguishedName' to identify it.
ldap.bind.password xxxxxxxxx
ldap.bind.principal CN=cloudstack-ldap,CN=Users,DC=sbdemo1,DC=local
ldap.email.attribute mail (default)
ldap.firstname.attribute givenname (default)
ldap.group.object groupOfUniqueNames (default)
ldap.group.user.uniquemember uniquemember (default)
dap.lastname.attribute sn (default)
The following setting is used by the Add Account UI element to filter the list of Users in the selection list so it only shows accounts which belong to the specified Group. In my case the Group is called CloudStack, but you need to use the 'distinguishedName' value to identify it.
ldap.search.group.principle CN=CloudStack,CN=Users,DC=sbdemo1,DC=local
ldap.truststore
ldap.truststore.password
ldap.user.object user (default was inetOrgPerson)
ldap.username.attribute samaccountname (default was uid)
After updating the various settings (adjusting them for your environment), restart the CloudStack Management Service to activate the settings.
To add a new LDAP Account, go to the Accounts Tab, the click the 'Add LDAP Account' button at the top right

CloudStack will then list all LDAP Accounts which have not yet been added to CloudStack, and are in the Group specified in the 'ldap.search.group.principle' Global Setting'
Chose the AD User you wish to create the new Account for, then select the appropriate Domain,

Any accounts which were already configured in CloudStack will still use local CloudStack authentication, however you will not be able to change the user's password using the CloudStack UI once LDAP is enabled (dual authentication is coming in release 4.5)
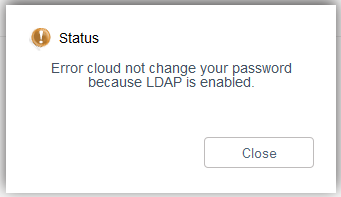
You can still change the user password using the 'updateUser' API call.
Users with LDAP Accounts will no longer need to change their password via CloudStack, as their password will be managed by Windows AD.
If you want to Bulk Import all of the users within LDAP who have not yet been added to CloudStack, you can do so by using the 'importLdapUsers' API command.
An example of the command using the unauthenticated API port would be:
http://192.168.0.3:8096/client/api?command=importLdapUsers
&accounttype=0
&domainid=b7e70c6f%2D8619%2D5641%2Dcd41%2Bafbd8147b438
This will import all users from AD, who are not currently in CloudStack, creating a new Account for each user, and adding them to the Domain specified by the domainid parameter. Both the Account Name and User Name will be the same as the AD 'User Logon Name'
Summary
----
Shared via my feedly reader
Sent from my iPhone
No comments:
Post a Comment